Dell Open Manager Install (CentOS) The following documents the Procedure to Install Dell Open Manager on a Centos 5/6x server.
|


# wget -q -O - http://linux.dell.com/repo/hardware/latest/bootstrap.cgi | bash |
Note: The bash pipe is very important.
Optional Install OpenManage Server Administrator:
# yum install srvadmin-all |
NOTE: You can install OMSA on all Linux systems even if the server is not supported. However, complete functionality is not guaranteed.
Update New Dell Software
This software install establishes two Dell specific repository for the dell hardware and OMSA. After the initial install perform, you should perform an update from the specific Dell respositories. In some Dell server this will make no differnce. In others, new support devices will be installed with update to the overall software. If not done for those server types requiring it, the OMSA software willnot start propertly.
To do this without a required reboot for other software for other software updates, temporarily disable the other respositories for the yum update. First list them out and them disabled them in the syntax with yum.
# yum repolist Loaded plugins: dellsysid, fastestmirror, security Loading mirror speeds from cached hostfile * Webmin: download.webmin.com * base: mirrors.versaweb.com * extras: mirrors.cicku.me * rpmforge: mirror.hmc.edu * updates: mirrors.cicku.me repo id repo name status Webmin Webmin Distribution Neutral 118 base CentOS-5 - Base 3,591 dell-omsa-indep Dell OMSA repository - Hardware independent 1,492 dell-omsa-specific Dell OMSA repository - Hardware specific 12 extras CentOS-5 - Extras 273 rpmforge RHEL 5 - RPMforge.net - dag 11,133 updates CentOS-5 - Updates 934 repolist: 17,553 # yum update --disablerepo=Webmin --disablerepo=base --disablerepo=extras --disablerepo=rpmforge --disablerepo=updates |
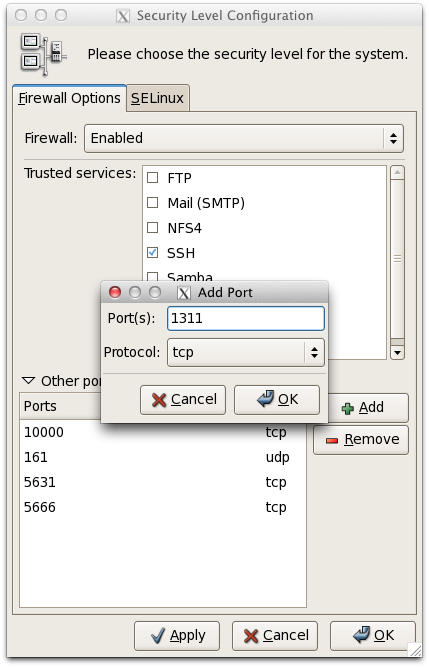
Open TCP Port 1311
Next open port 1311 (e.g. system-config-securitylevel):
Enable Web Server
Enabled and start the httpd server. This may require that you edit the file /etc/httpd/conf/httpd.conf and assign the fully qualified named. This error occurs if fully qualified named (FQDN) is not specified:
# service httpd restart |
Edit the file /etc/httpd/conf/httpd.conf and assign the fully qualified named for the parameter "ServerName" to eliminate this error:
# If your host doesn't have a registered DNS name, enter its IP address here. |
Restarting the services will eliminate this error:
# service httpd restart |
Make sure the http service is enable to start automatically (e.g. system-config-services):
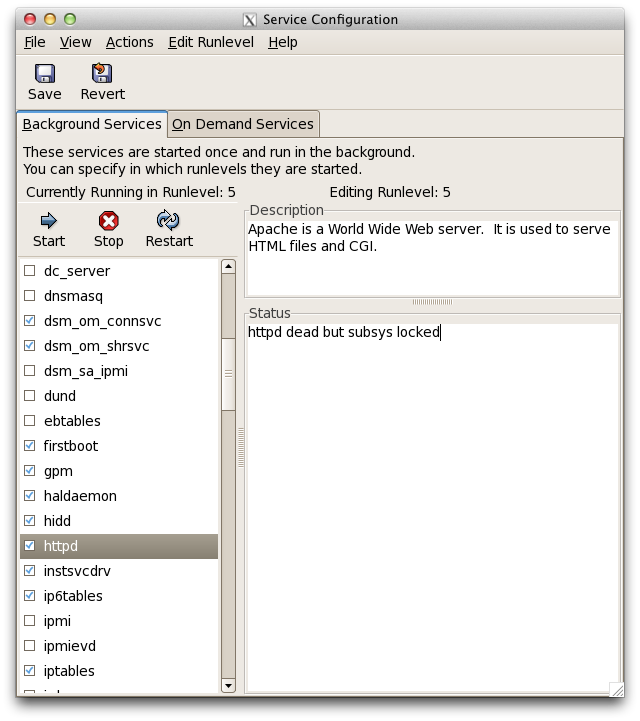
Note: dsm_om_connsvc, dsm_om_shrsvc, dsm_sa_ipmi and instsvcdrv services have been added by the Open Manager install.
Start Dell Services
Use the script srvadmin-services.sh in the /opt/dell/srvadm/sbin directory to start the dell services and enable them to run at boot up.
# /opt/dell/srvadmin/sbin/srvadmin-services.sh start Starting Systems Management Device Drivers: Starting dell_rbu: [ OK ] Starting ipmi driver: [ OK ] Starting Systems Management Data Engine: Starting dsm_sa_datamgrd: [ OK ] Starting dsm_sa_eventmgrd: [ OK ] Starting DSM SA Shared Services: [ OK ] Starting DSM SA Connection Service: [ OK ] # /opt/dell/srvadmin/sbin/srvadmin-services.sh enable racsvc 0:off 1:off 2:on 3:on 4:on 5:on 6:off instsvcdrv 0:on 1:off 2:off 3:on 4:on 5:on 6:on dataeng 0:off 1:off 2:off 3:on 4:on 5:on 6:off dsm_om_shrsvc 0:off 1:off 2:off 3:on 4:on 5:on 6:off dsm_om_connsvc 0:off 1:off 2:off 3:on 4:on 5:on 6:off ipmi 0:off 1:off 2:off 3:off 4:off 5:off 6:off # |
Note: If you get a failure on say "Staring DMA SA Connection Service:" It is probably because you have not perform a yum update from the Dell repository.
Usage: srvadmin-services.sh {start|stop|status|restart|enable|disable|help}
 start  : starts Server Administrator services
 stop   : stops Server Administrator services
 status : display status of Server Administrator services
 restart: restart Server Administrator services
 enable : Enable Server Administrator services in runlevels 2, 3, 4, and 5
 disable: Disable Server Administrator services in runlevels 2, 3, 4, and 5
 help   : Displays this help text
Checking it Works
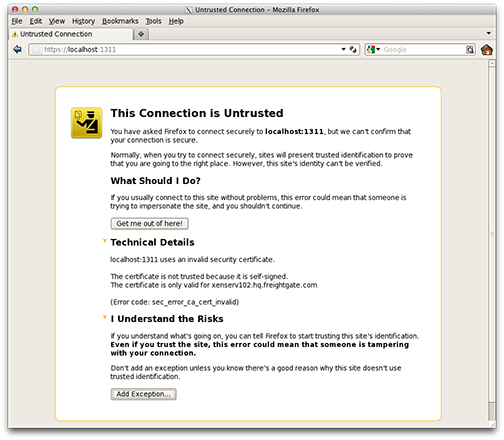
Check that is work by using a brower to display the web page using https and port 1311.
https://localhost:1311 or use the ip address of the server instead of local host.
This will be a secure access and will require that you add the certificate. Follow the normal dialogs and add the exception.
The next dialog will probaly tell you, that your browsers is not authorized (Safari issue).
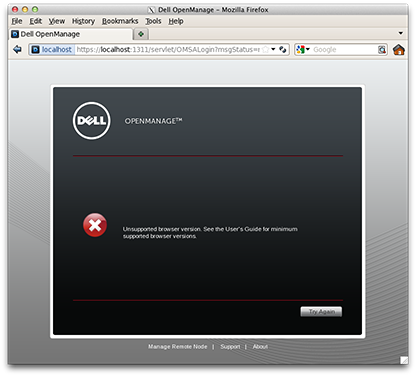
Ignore this dialog and just click "Try Again". This will bring up the login screen.
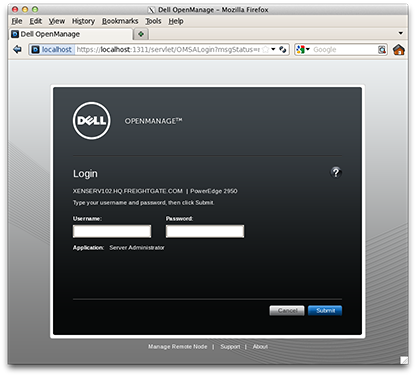
Enter the "root" and the root password for this machine. The following screen will appears.
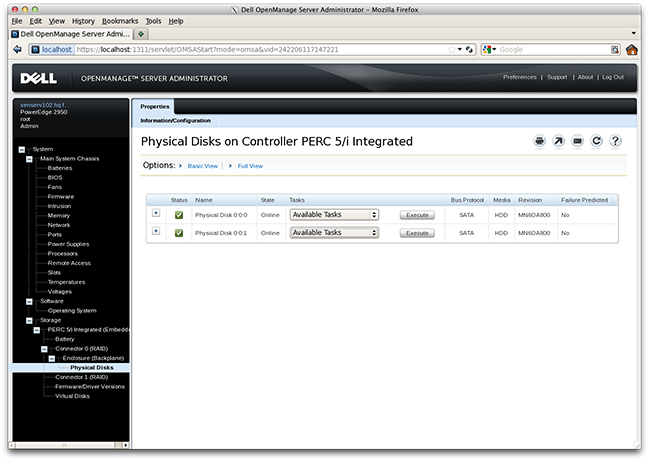
Note: If the website does note provide a list, restart the Dell services:
# /opt/dell/srvadmin/sbin/srvadmin-services.sh restart Starting Systems Management Device Drivers: Starting dell_rbu: [ OK ] Starting ipmi driver: [ OK ] Starting Systems Management Data Engine: Starting dsm_sa_datamgrd: [ OK ] Starting dsm_sa_eventmgrd: [ OK ] Starting DSM SA Shared Services: [ OK ] Starting DSM SA Connection Service: [ OK ] # |